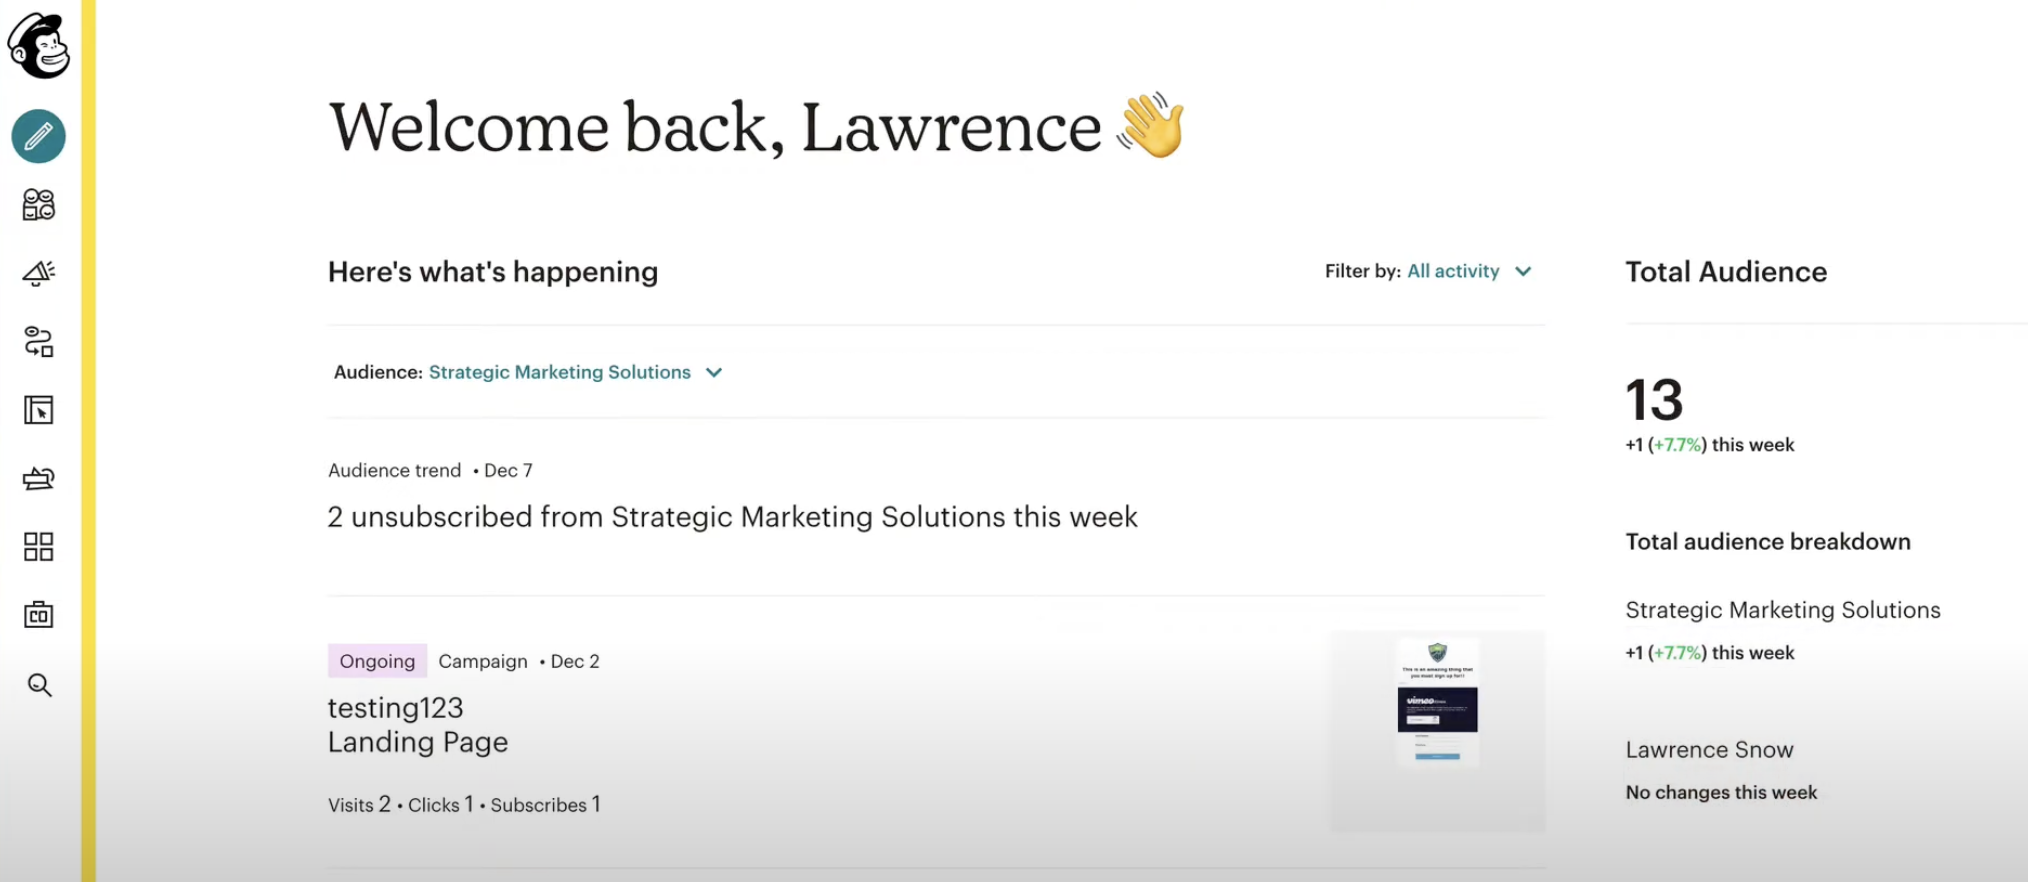
This comprehensive guide outlines the process for migrating from Mailchimp to Meriaky, focusing on transferring email campaigns, contact lists, forms, and automation workflows. The objective is to ensure a smooth transition, leveraging Meriaky comprehensive CRM and marketing automation capabilities.
TABLE OF CONTENTS
Preparation for Migration
Step 1: Review Current Mailchimp Setup
- Identify Key Assets: List all audiences, email campaigns, automation workflows, and forms that need to be migrated.
- Document Design and Content: Take screenshots or notes of the design, content, and settings of each email and form to replicate them in Meriaky.
- Evaluate Data Volume: Assess the number of contacts and campaigns to be migrated.
Step 2: Define Migration Objectives
- Set Clear Goals: Identify the reasons for migrating to Meriaky, such as integrated CRM features, enhanced automation, or cost efficiency.
- Prioritize Critical Features: Focus on migrating the most critical features first to minimize disruptions.
Step 3: Prepare Backup
- Export Data from Mailchimp: Export all relevant data, including contact lists, email campaigns, and automation workflows.
- Backup Data: Ensure all exported data is securely backed up before starting the migration process.
Migrate Contacts, Campaigns and Automations
Step 1: Export Data from Mailchimp
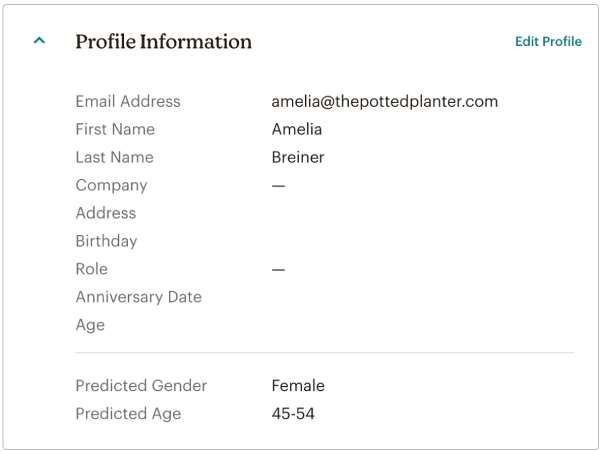
- Export Contacts: Navigate to Audience > All contacts in Mailchimp. Export your audience data by selecting the relevant contacts and downloading them as CSV files.
- Export Email Campaigns: Access Campaigns > All Campaigns and export any reusable content or HTML templates.
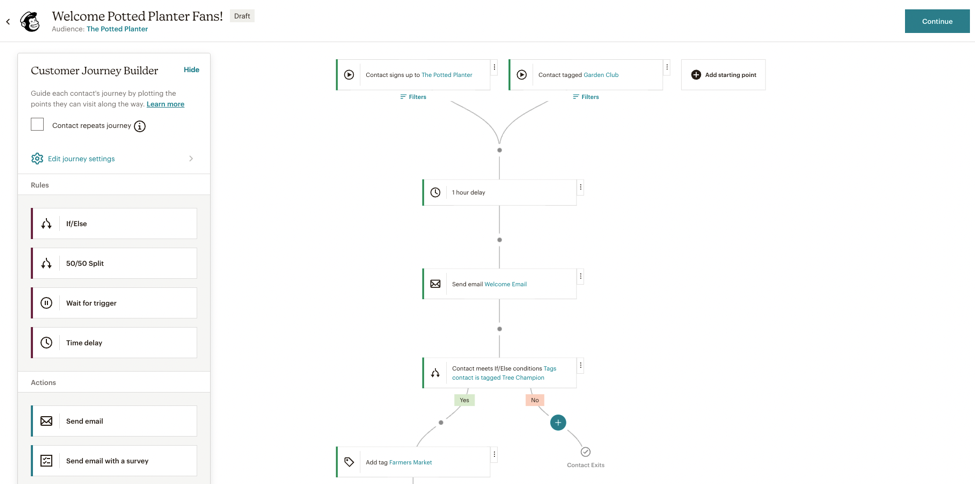
- Export Automations: Document the settings of existing automation workflows, including triggers, actions, and segments.
Step 2: Import Contacts into Meriaky
- Import Contacts: In Meriaky, navigate to Contacts > Import Contacts and upload the CSV file(s) exported from Mailchimp.Map any custom fields to ensure that all data is correctly imported.
Migrate Forms and Landing Pages
Step 1: Recreate Forms in Meriaky
- Rebuild Forms: Use Meriaky Sites > Forms to recreate the forms from Mailchimp. Ensure that fields, validation rules, and submission actions match those used in Mailchimp.
- Embed Forms: Embed the recreated forms on your website or landing pages using the provided embed code.
Step 2: Recreate Landing Pages in Meriaky
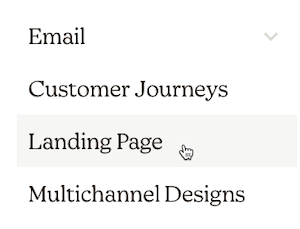
- Rebuild Landing Pages: Navigate to Sites > Funnels in Meriaky to recreate the landing pages you had in Mailchimp. Use Meriaky templates or start from scratch to ensure the design matches your original pages.
- Publish Landing Pages: Connect a custom domain if needed, and publish the landing pages to make them live.
Email Campaign and Automation Migration
Step 3: Recreate Email Campaigns in Meriaky
- Choose a Template: In Meriaky, navigate to Marketing > Emails > Templates to select a suitable template or start from scratch.
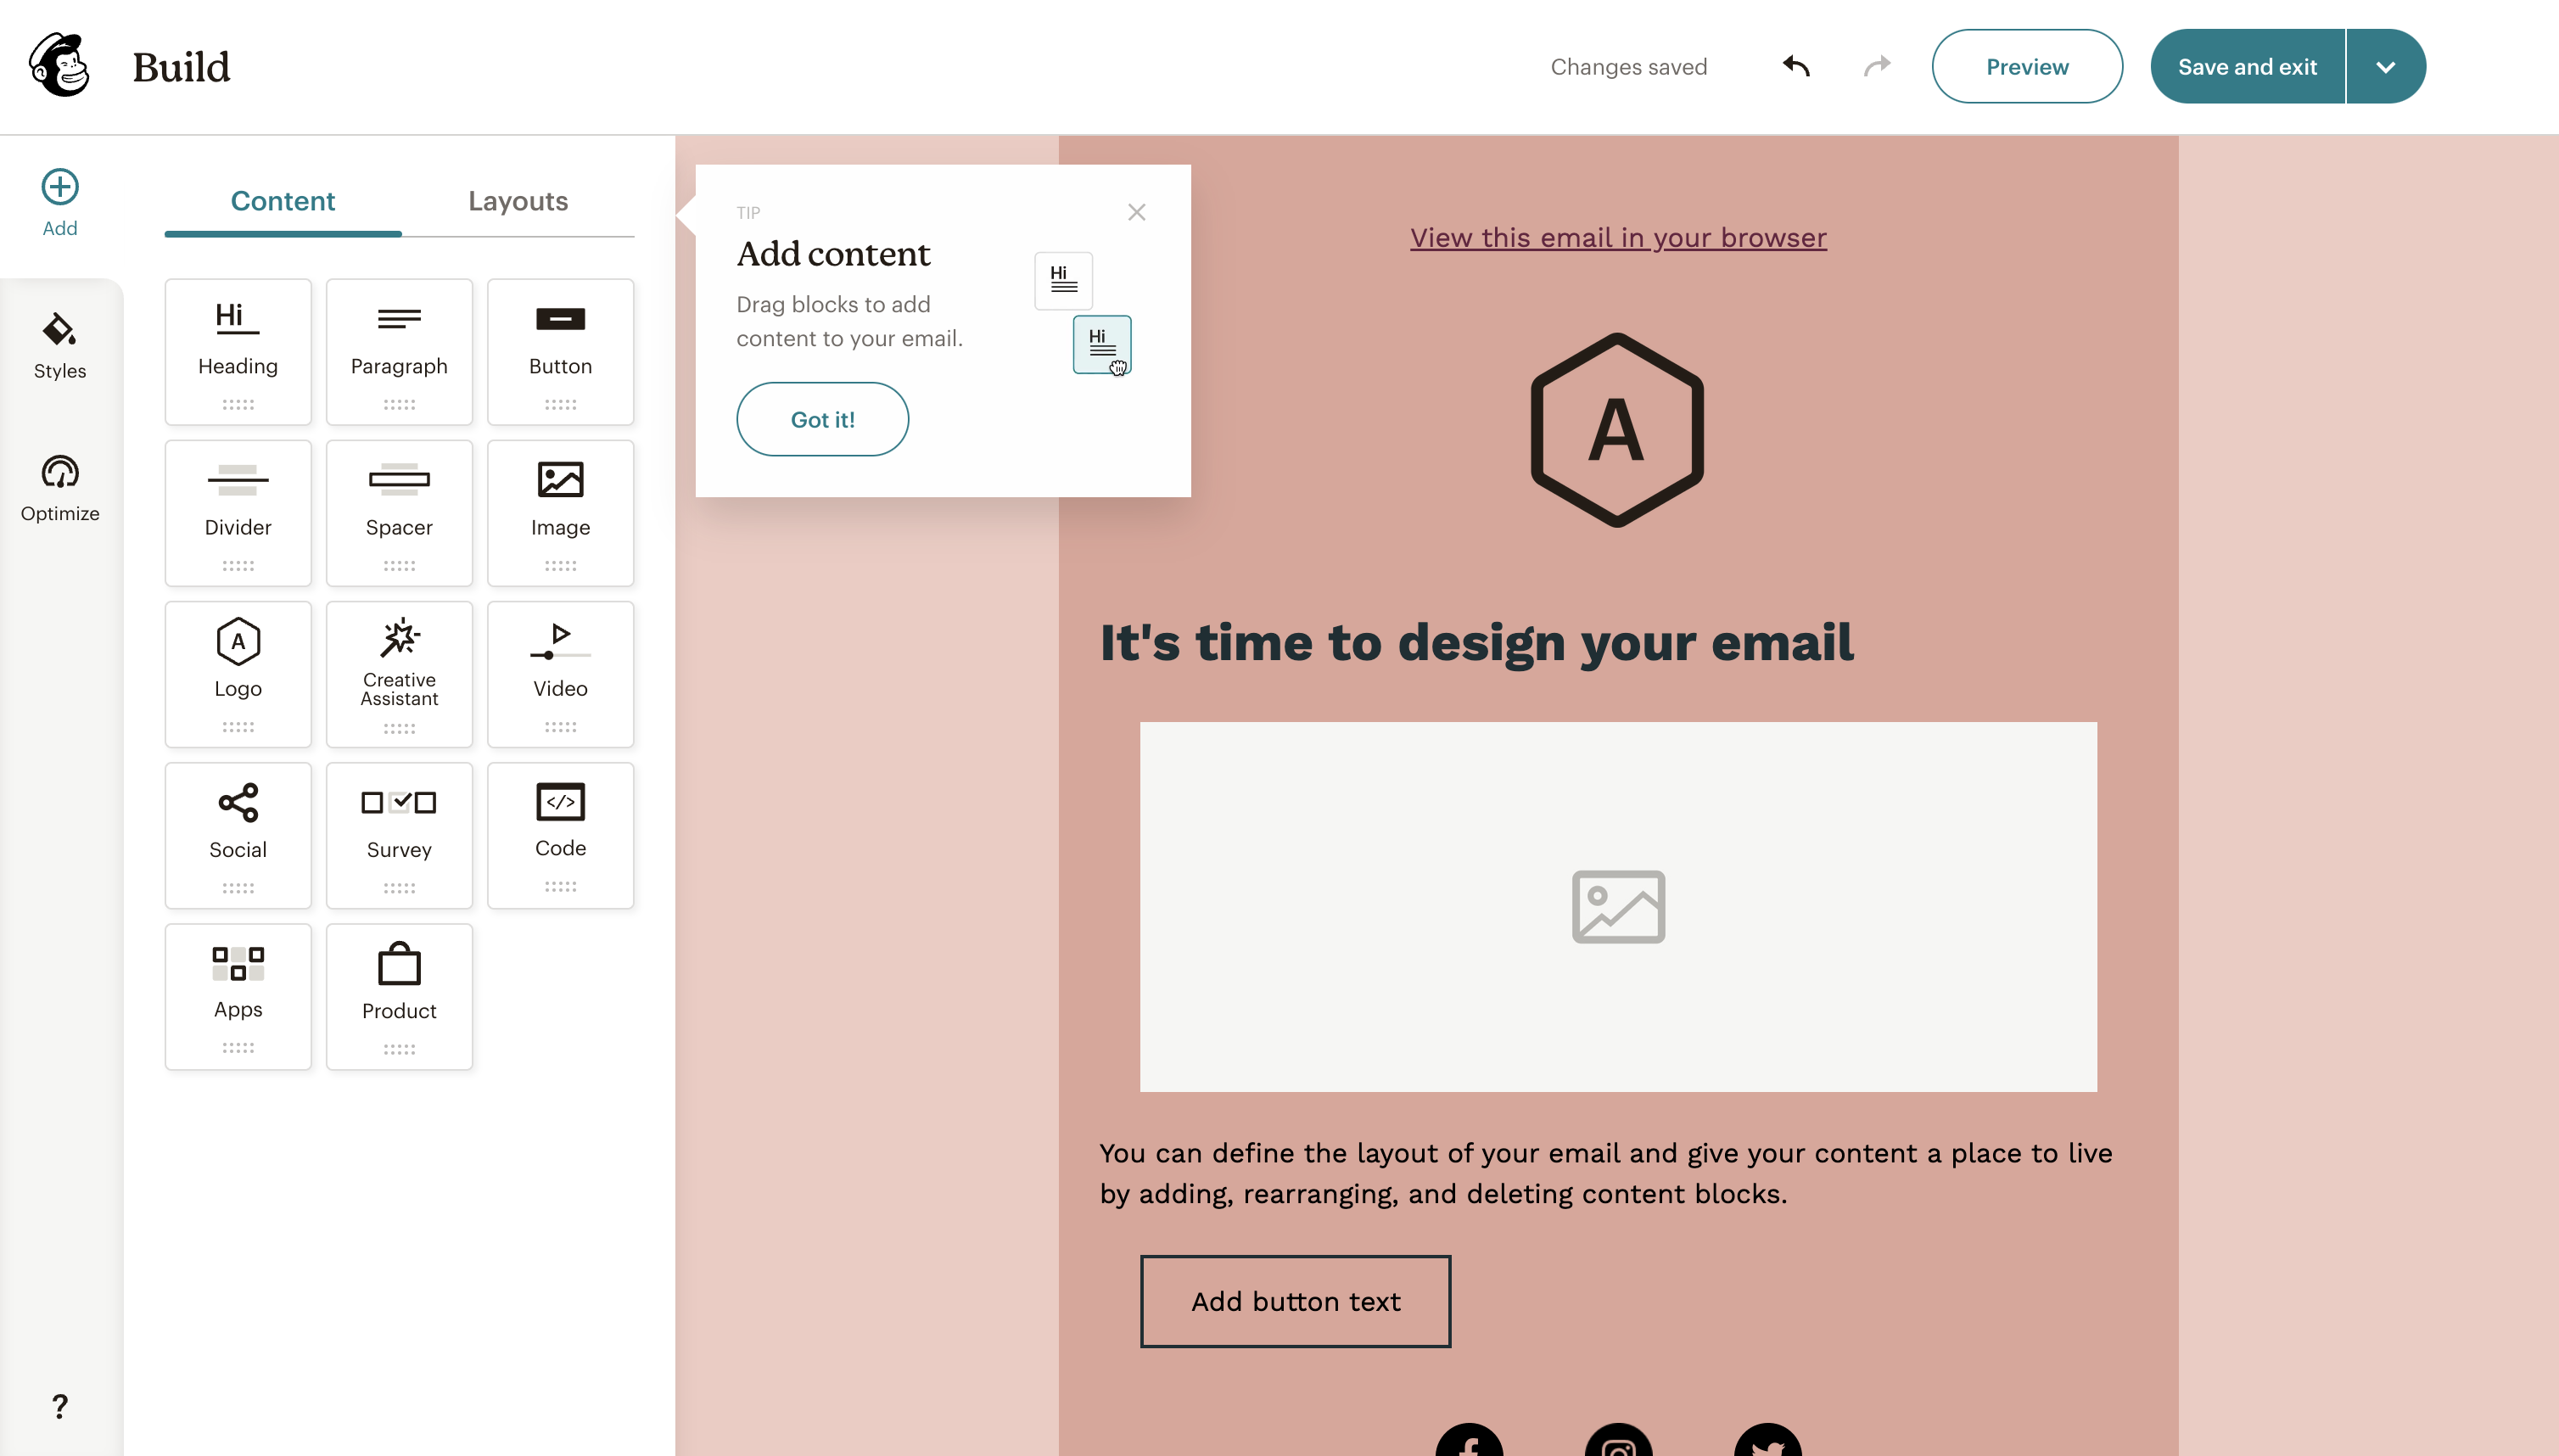
- Recreate Content: Copy the text, images, and links from your Mailchimp emails into the Meriaky email builder. Ensure that the layout and design elements match the original Mailchimp campaigns.
- Set Up Unsubscribe Links: Use Meriaky’s built-in unsubscribe merge tags to comply with email regulations.
Step 4: Recreate Automations in Meriaky
- Rebuild Automation Workflows: Navigate to Automations > Workflows in Meriaky to recreate your Mailchimp automations. Set up triggers, actions, and conditions to match the original Mailchimp workflows.
- Use Pre-Built Recipes: Leverage Meriaky’s workflow recipes if they match any of your existing Mailchimp automations to save time.
Setup Integrations
Step 1: Reconnect Integrations in Meriaky
- Re-establish Email Integrations: Navigate to Settings > Integrations in Meriaky and reconnect any necessary third-party services (e.g., Zapier, social media platforms).
- Set Up Payment Processing (if applicable): If you were using e-commerce features in Mailchimp, set up payment gateways in Meriaky under Settings > Payments.
Step 2: Set Up Analytics
- Enable Tracking: Use Meriaky’s built-in analytics to monitor the performance of your email campaigns and landing pages.
- Implement Third-Party Analytics (if needed): Re-implement any tracking codes (e.g., Google Analytics) that were used in Mailchimp by navigating to Settings > Tracking.
Final Checks and Team Training
Step 1: Perform Final Data Validation
- Cross-Check Data: Verify that all contacts, email campaigns, and automation workflows have been successfully migrated and are functioning correctly in Meriaky.
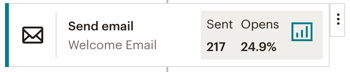
- Test Email Campaigns: Ensure that emails are being sent correctly, including all personalization tags and unsubscribe links.
Step 2: Train Team Members
- Meriaky Training: Provide training to your team on how to use Meriaky’s email builder, workflows, and CRM features.
- Leverage Support Resources: Encourage your team to use Meriaky’s support and documentation for ongoing learning and troubleshooting.
Step 3: Monitor and Optimize
- Monitor Performance: Regularly check the performance of your campaigns and workflows in Meriaky, making any necessary adjustments.
- Continuous Improvement: Stay updated with Meriaky’s new features and updates to continually improve your setup.
Decommissioning Mailchimp
Step 1: Transition Period
- Run in Parallel: Consider running both Mailchimp and Meriaky in parallel for a short period to ensure a smooth transition.
- Gradual Phase-Out: Gradually phase out Mailchimp as you gain confidence in Meriaky’s capabilities.
Step 2: Cancel Mailchimp Subscription
- Final Data Backup: Ensure that all necessary data has been securely backed up before canceling your Mailchimp subscription.
- Official Cancellation: Follow Mailchimp’s process to cancel your subscription and terminate any associated services.
Step 3: Post-Migration Review
- Review Success: Evaluate the success of the migration, documenting any challenges and solutions.
- Ongoing Monitoring: Keep an eye on your Meriaky setup post-migration to catch and resolve any issues promptly.